Bumblebee Integration Platform
Bumblebee Server works with ALM version 15 onwards and works the same on ALM on-premise or SAAS.
Bumblebee server is a cross platform application and can be run on both Windows and Linux
What is Bumblebee
Bumblebee is a set of tools and SDK for integrating CI applications, testing tools and frameworks with ALM.
Bumblebee CI Integration: Bumblebee can be used for
- Jenkins: Integrate Jenkins pipelines for any testing framework such as Selenium, Playwright, etc. with ALM
- TeamCity: Integrate TeamCity pipelines for any testing framework such as Selenium, Playwright, etc. with ALM
Bumblebee Testing Framework and Tools Integration: Bumblebee can be used for
- Selenium: Write web tests in Selenium WebDriver and map them to tests and requirements in ALM
- Playwright: Write web tests in Playwright and map them to tests and requirements in ALM
- Appium: Write mobile tests in Appium and map them to tests and requirements in ALM
- JUnit: Write unit or integration using Selenium, REST Assured, etc and map them to tests and requirements in ALM
- TestNG: Write unit or integration using Selenium, REST Assured, etc and map them to tests and requirements in ALM
Bumblebee has two components
- Bumblebee Server: The server runs within your network and is responsible for orchestrating all communication with ALM.
- Bumblebee Integrations: These are the set of tools and SDKs for CI and Testing frameworks. They send information to the Bumblebee Server.
Install
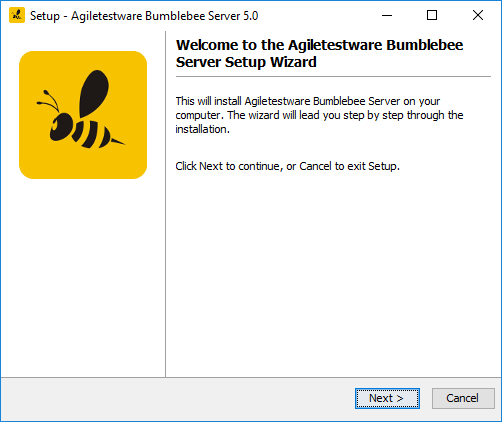
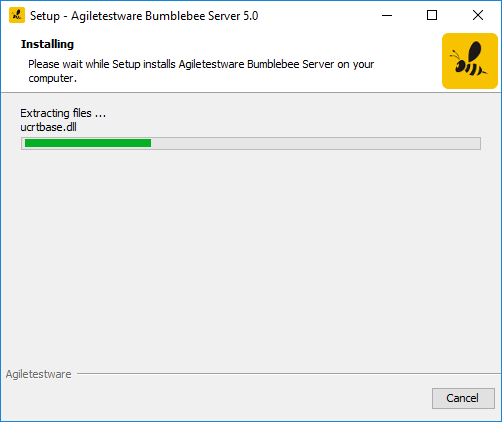
Windows Installation
Download and run the Bumblebee Windows Installer (opens in a new tab)
Specify installation directory
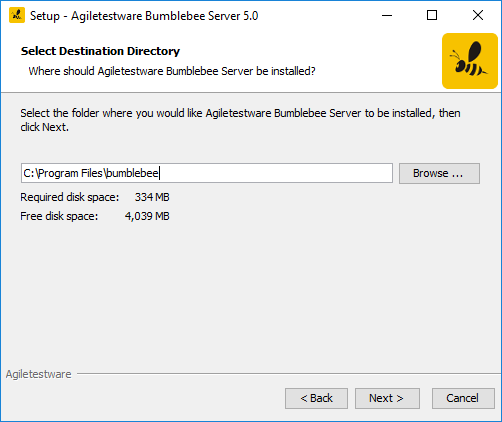
Specify some available port

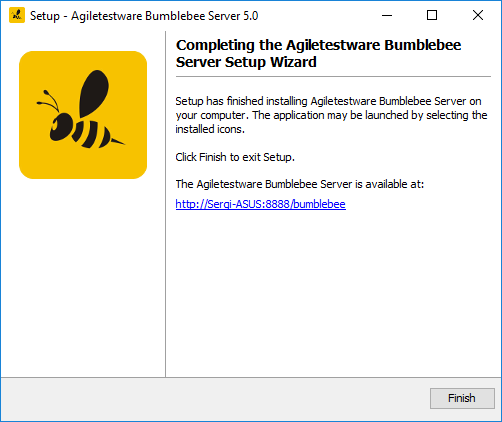
The Bumblebee URL takes you to the admin page, where you can configure ALM custom properties, view logs, view and update license, and view your encrypted password
Linux Installation
Bumblebee requires JRE to be installed and added to the PATH PATH environment variable. To check if it's set run the following command in terminal java -version.
Download and unpack the Bumblebee Linux Installer (opens in a new tab) to some directory like /opt
Run sudo startup.sh command from bumblebee folder.
To change the default port number, use -port <number> command line option. Example: sudo startup.sh -port 9999
License Activation
Bumblebee can be activated by providing either a license file or a license key.
Navigate to the license tab. By default the option to activate via a license file is selected.
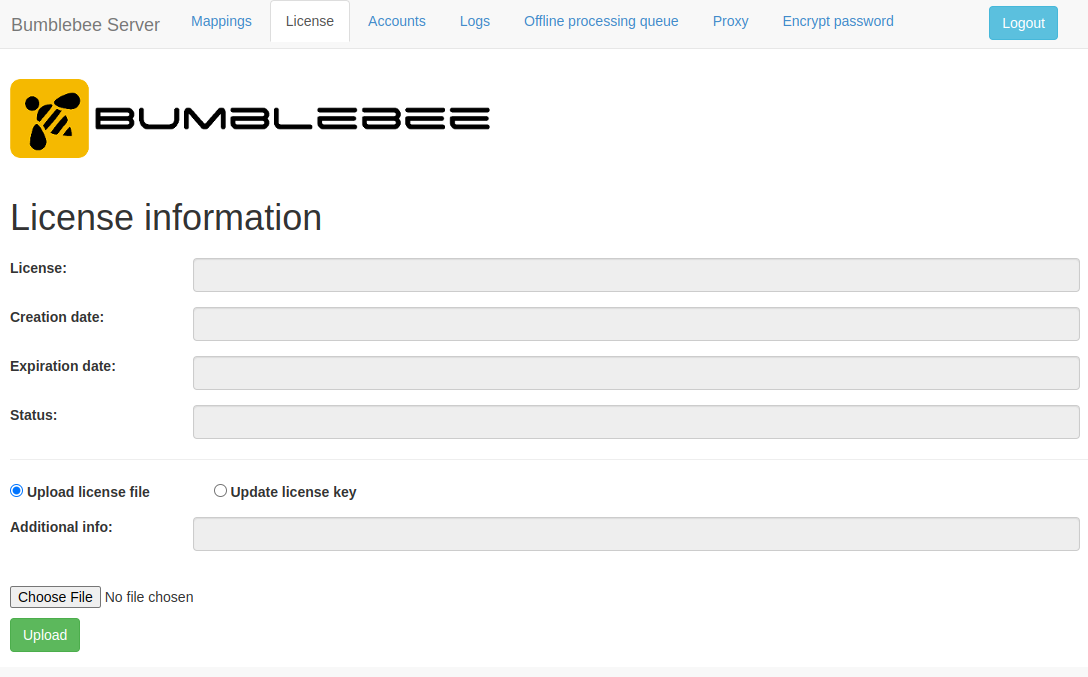
Click the Choose File button and select the license file. Then click on Upload to upload the selected license file and to activate.
To activate using a license key instead, select the Update license key radio button.
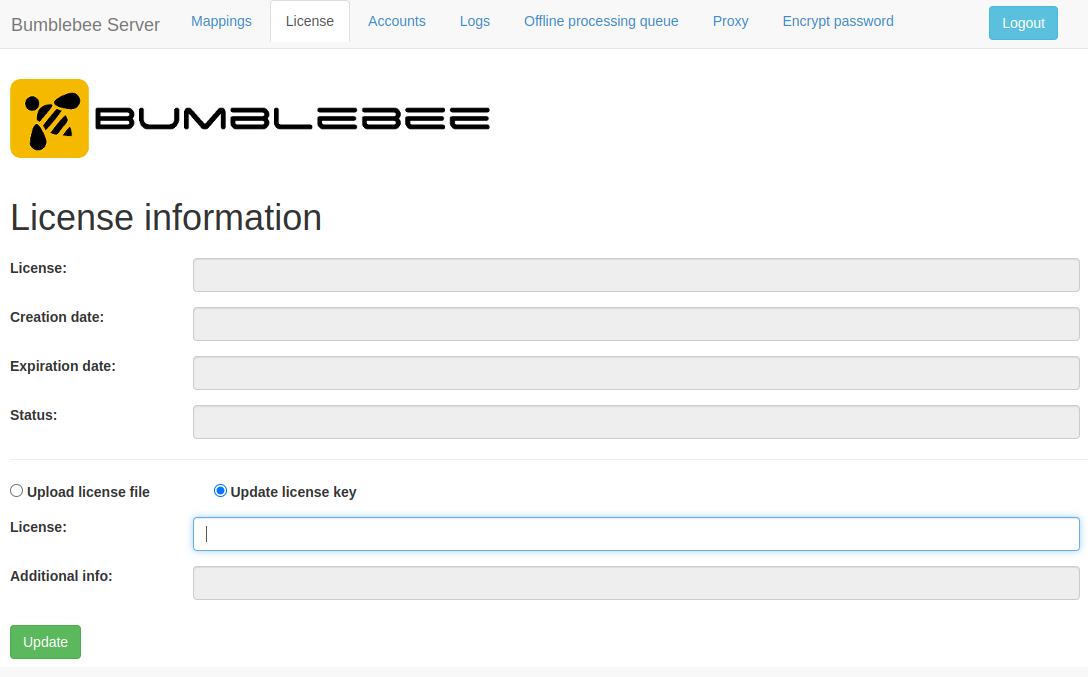
Enter the license key in the License text box and click the Update button to activate.
ALM Credentials (Server Side)
username / password
Some security sensitive users may not want to expose ALM credentials in the project configuration. Bumblebee allows users to specify ALM credentials within the Bumblebee Server in the alm-mappings.xml configuration section.
When specifying ALM credentials on the Bumblebee server side, they can be specified at project, domain or URL level as shown in the following examples.
Server side ALM credentials at project level can be specified as follows:
<?xml version="1.0" encoding="UTF-8"?>

<mappings>
    <url url="http://server_name:port/qcbin">
        <domain name="DEFAULT">
            <project name="annotations_demo">
                <credentials username="qcuser" encrypted_password="fd4OMOXLJjkMR6e64RJh3Q==" />
            </project>
        </domain>
    </url>
</mappings>
Server side ALM credentials at domain level can be specified as follows:
<?xml version="1.0" encoding="UTF-8"?>

<mappings>
    <url url="http://server_name:port/qcbin">
        <domain name="DEFAULT">
			<credentials username="qcuser" encrypted_password="fd4OMOXLJjkMR6e64RJh3Q==" />
            <project name="annotations_demo">
            </project>
        </domain>
    </url>
</mappings>
Server side ALM credentials at URL level can be specified as follows:
<?xml version="1.0" encoding="UTF-8"?>

<mappings>
    <url url="http://server_name:port/qcbin">
		<credentials username="qcuser" encrypted_password="fd4OMOXLJjkMR6e64RJh3Q==" />
        <domain name="DEFAULT">
            <project name="annotations_demo">
            </project>
        </domain>
    </url>
</mappings>
When ALM credentials are configured on the Bumblebee server side, the alm_user and alm_encrypted_pass attributes are not required on the client side bumblebee_config.xml file. However you may still specify these attributes, which will override the server side configuration.
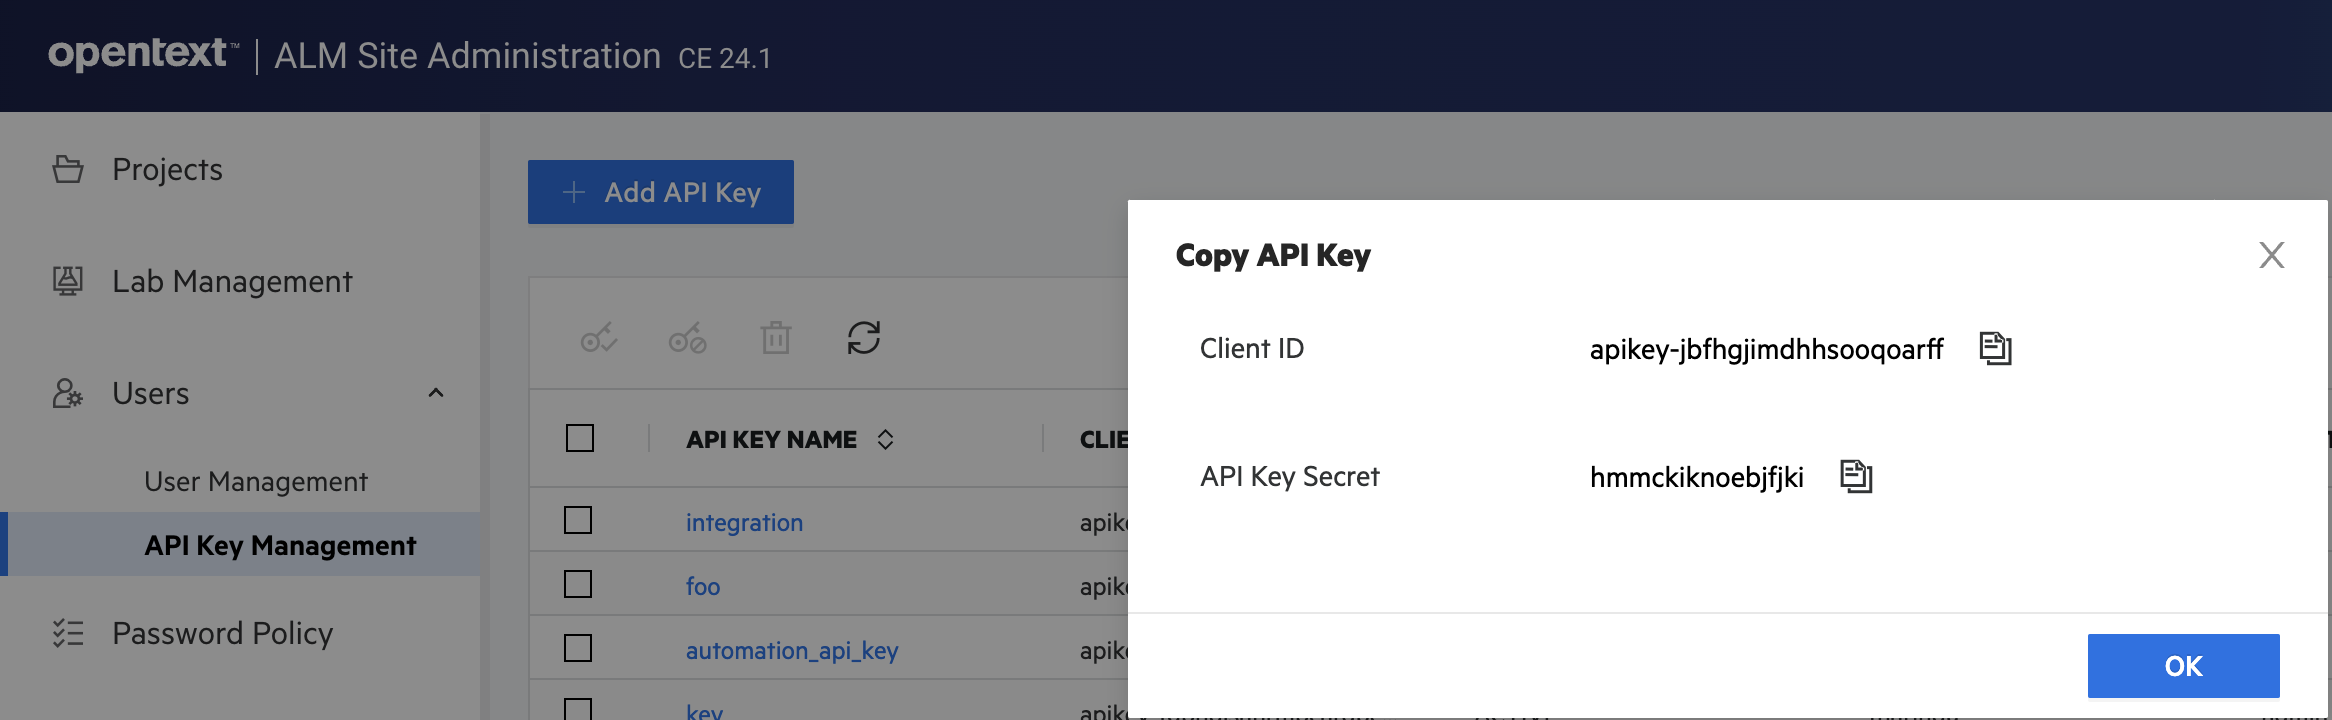
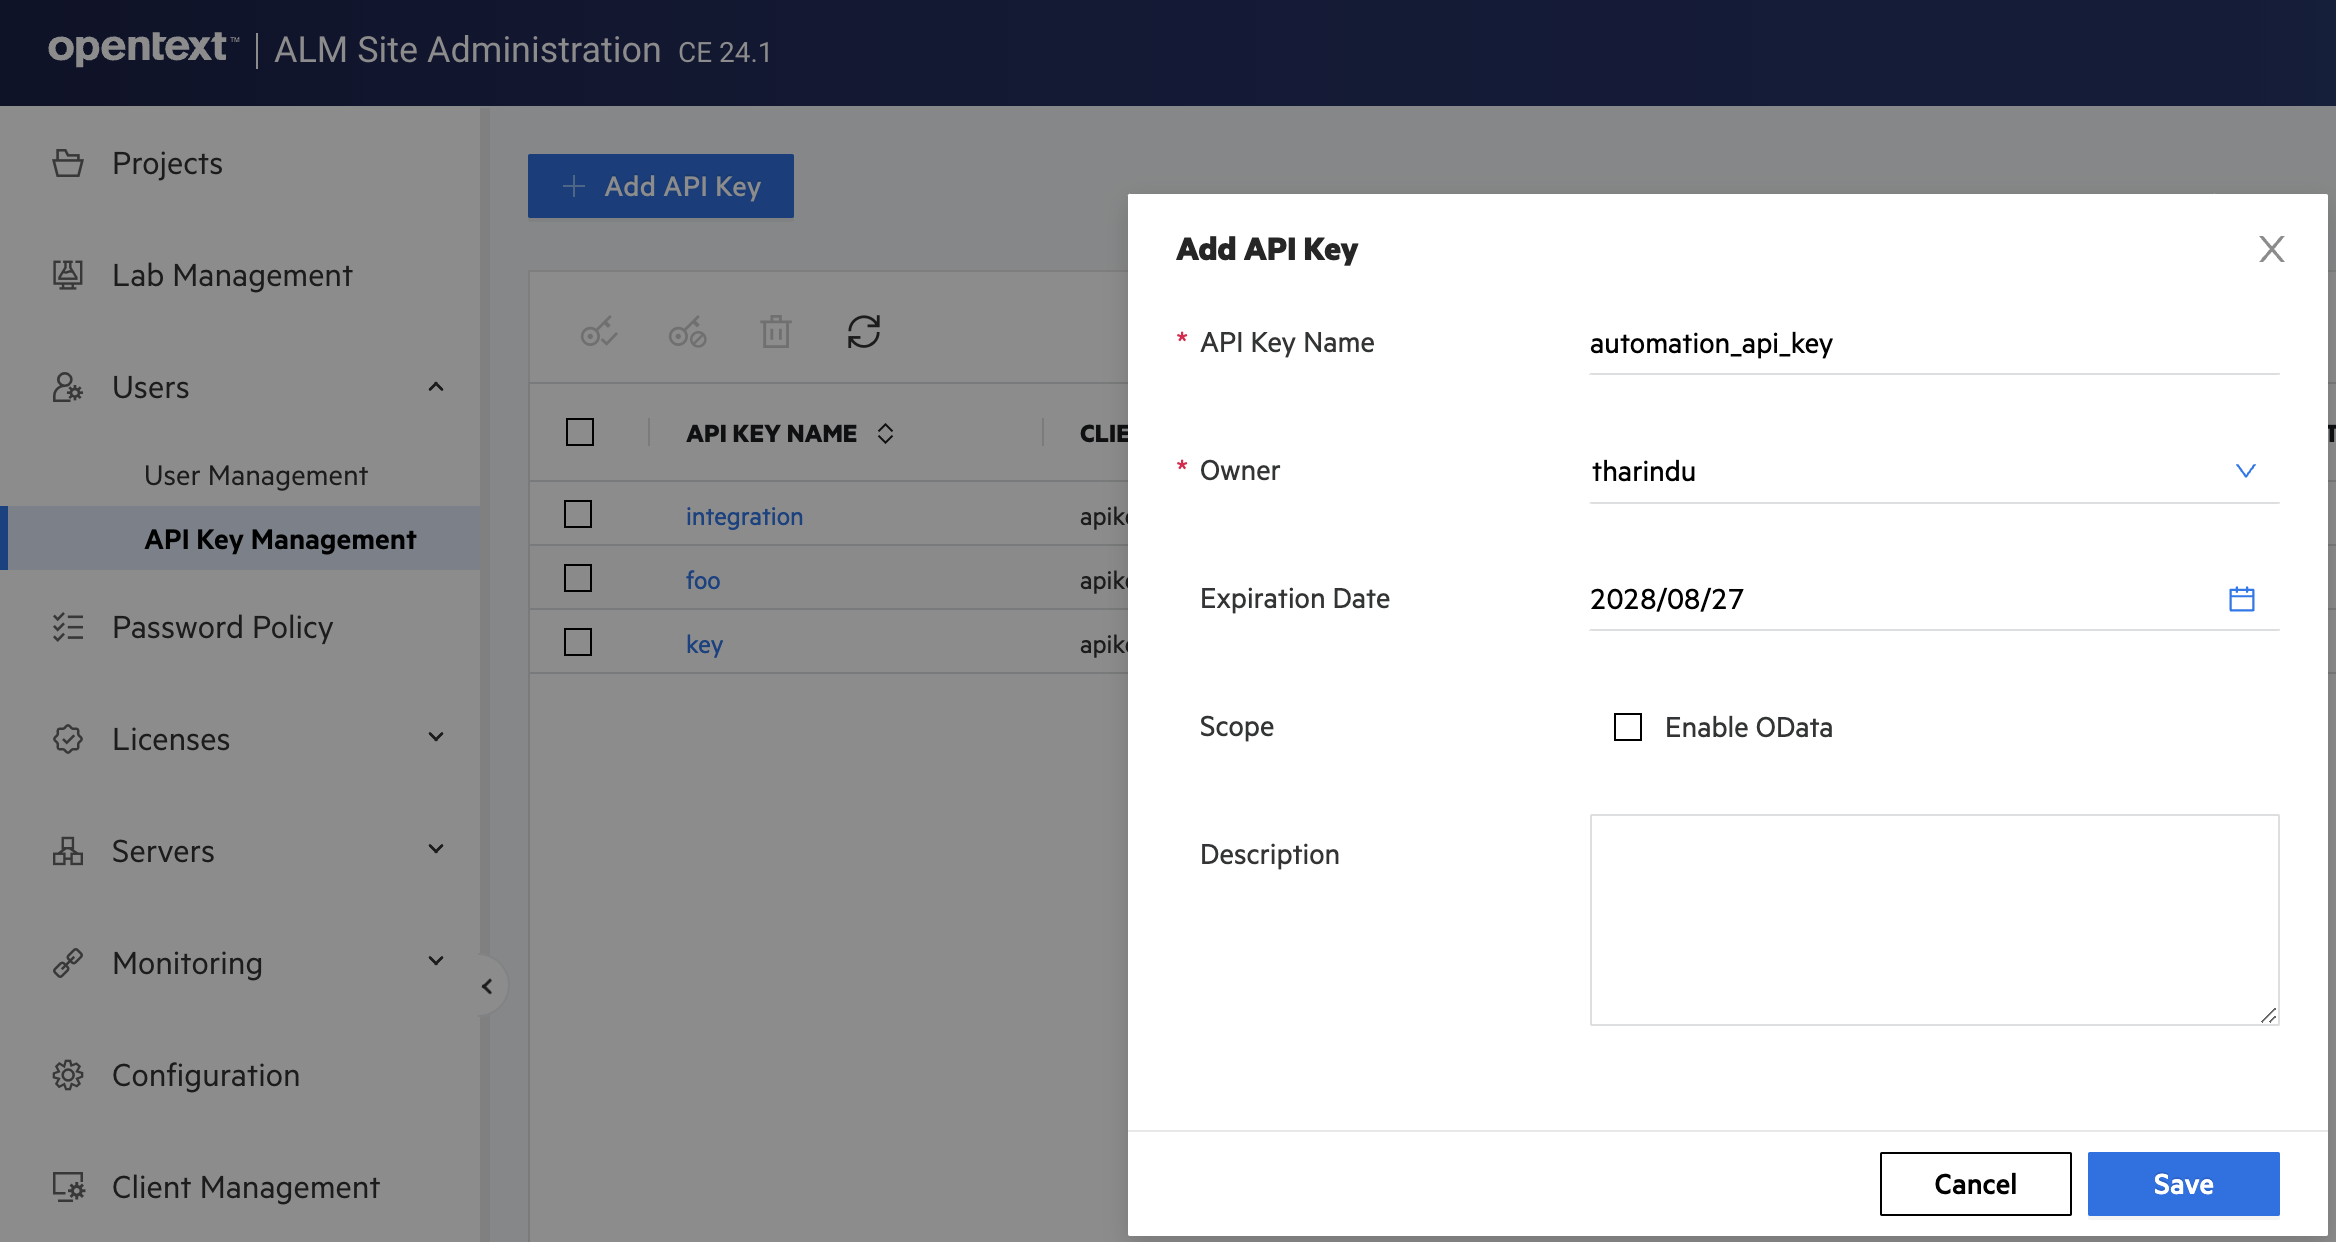
username / apikey
ALM allows user's and admins to use api keys instead of plain passwords. This is a more secure way of integrating with ALM API. Once you generate the API key, you can use this in the Bumblebee sever alm-mappings.xml configuraiton.
Server side ALM API keys at project level can be specified as follows:
<?xml version="1.0" encoding="UTF-8"?>

<mappings>
    <url url="http://server_name:port/qcbin">
        <domain name="DEFAULT">
            <project name="annotations_demo">
                <credentials username="qcuser" client_id="your-api-key-client-id" secret="your-api-key-secret" />
            </project>
        </domain>
    </url>
</mappings>
Server side ALM API keys at domain level can be specified as follows:
<?xml version="1.0" encoding="UTF-8"?>

<mappings>
    <url url="http://server_name:port/qcbin">
        <domain name="DEFAULT">
			<credentials username="qcuser" client_id="your-api-key-client-id" secret="your-api-key-secret" />
            <project name="annotations_demo">
            </project>
        </domain>
    </url>
</mappings>
Server side ALM API keys at URL level can be specified as follows:
<?xml version="1.0" encoding="UTF-8"?>

<mappings>
    <url url="http://server_name:port/qcbin">
		<credentials username="qcuser" client_id="your-api-key-client-id" secret="your-api-key-secret" />
        <domain name="DEFAULT">
            <project name="annotations_demo">
            </project>
        </domain>
    </url>
</mappings>
ALM Field Mapping
Required ALM fields must be specified in the XML configuration. ALM will reject any API calls missing required fields in the API payload.
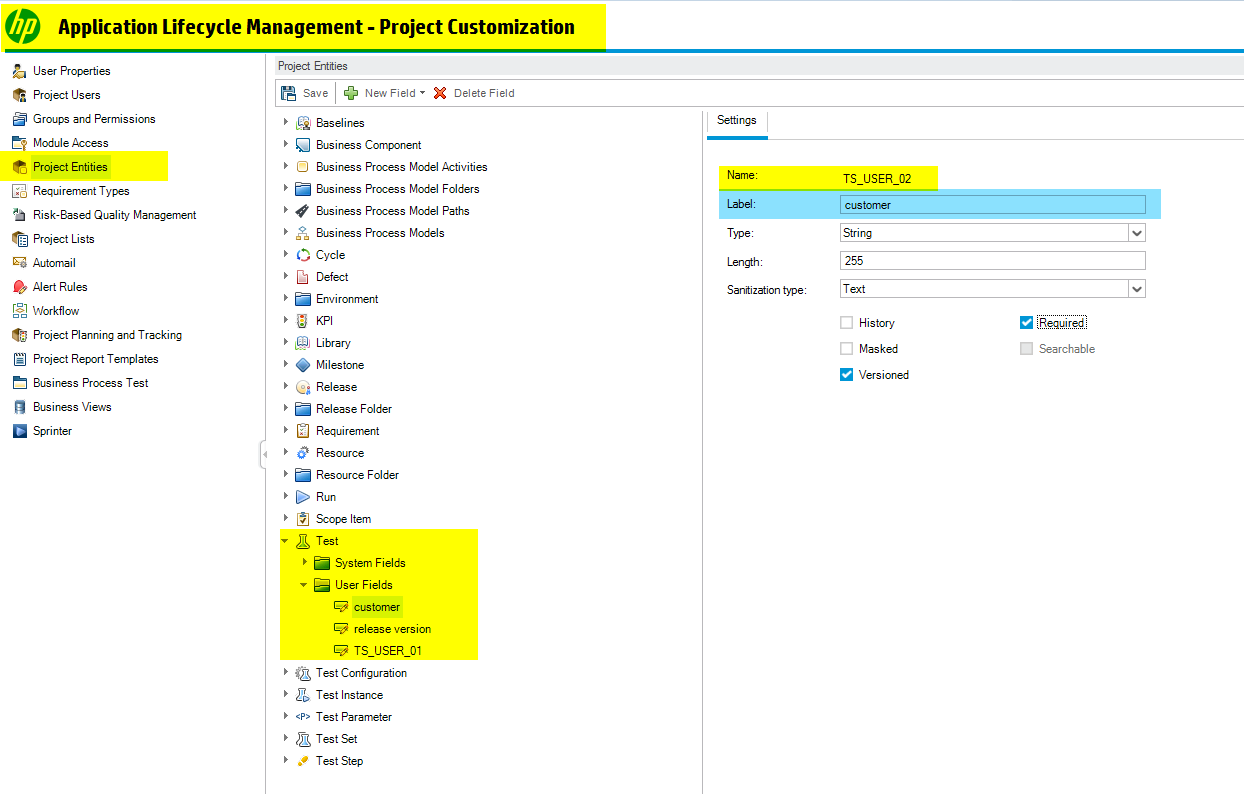
Most ALM project contain custom fields that can be optional or mandatory. Bumblebee web portal provides an simply way to configure these fields on the Bumblebee server so that they can be passed from the Bumblebee integration clients.
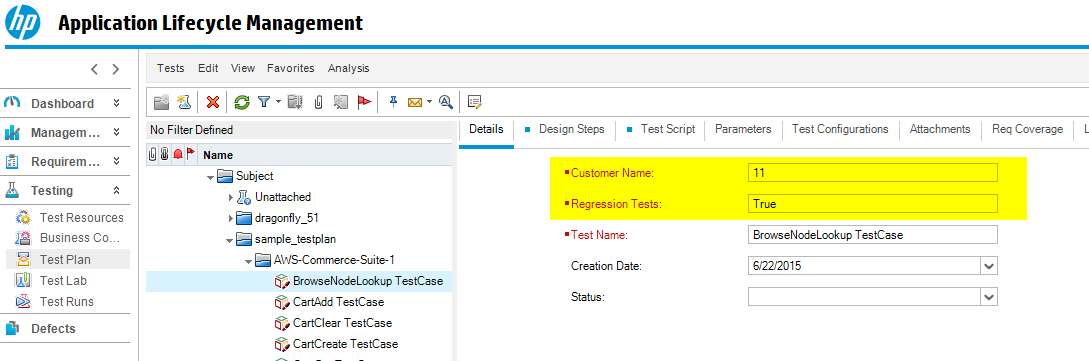
ALM custom field and values can be viewed by navigating to: Project Entities → [entity type] → User Fields
To configure custom fields, navigate to Mappings menu in the Bumblebee portal and modify the XML configuration by specifying the ALM project's custom fileds and mappings.
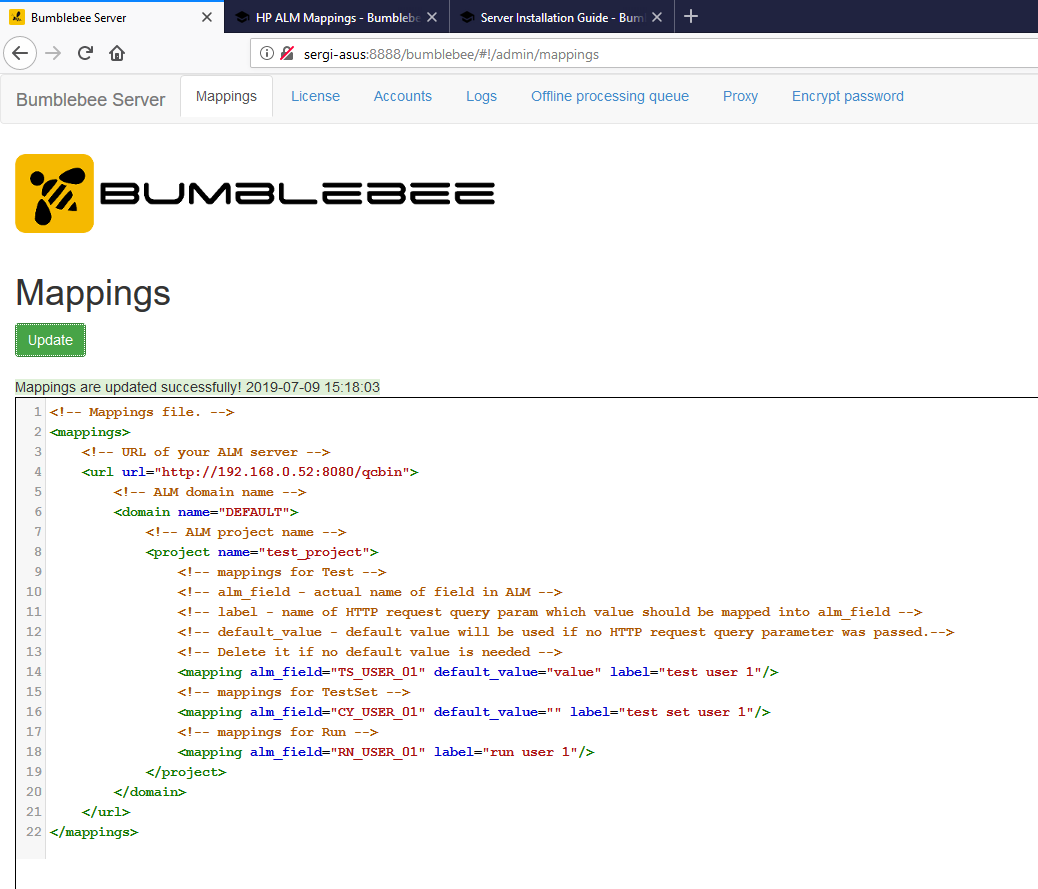
<!-- Mappings file. -->
<mappings>
    <!-- URL of your ALM server -->
    <url url="https://alm.acme.com:8080/qcbin">
        <!-- ALM domain name -->
        <domain name="DEFAULT">
            <!-- ALM project name -->
            <project name="test_project">
                <!-- mappings for Test -->
                <!-- alm_field - actual name of field in ALM -->
                <!-- label - name of HTTP request query param which value should be mapped into alm_field -->
                <!-- default_value - default value will be used if no HTTP request query parameter was passed.-->
                <!-- Delete it if no default value is needed -->
                <mapping alm_field="TS_USER_01" default_value="value" label="test user 1"/>
                <!-- mappings for TestSet -->
                <mapping alm_field="CY_USER_01" default_value="" label="test set user 1"/>
                <!-- mappings for Run -->
                <mapping alm_field="RN_USER_01" label="run user 1"/>
            </project>
        </domain>
    </url>
</mappings>
If multiple ALM projects share some custom fields, the custom field element <mapping> can be specified at the base, url, domain, or project level.
<mappings>
<url url="https://alm.acme.com:8080/qcbin">
<domain name="DEFAULT">
<!-- This field will be inherited by all the projects within this domain -->
<mapping alm_field="TS_USER_01" default_value="value" label="foo-1"/>
<project name="project-1">
<mapping alm_field="CY_USER_01" default_value="" label="bar"/>
<mapping alm_field="RN_USER_01" label="run1"/>
</project>
<project name="project-2">
<mapping alm_field="CY_USER_01" default_value="" label="bar"/>
<mapping alm_field="RN_USER_01" label="run1"/>
</project>
</domain>
</url>
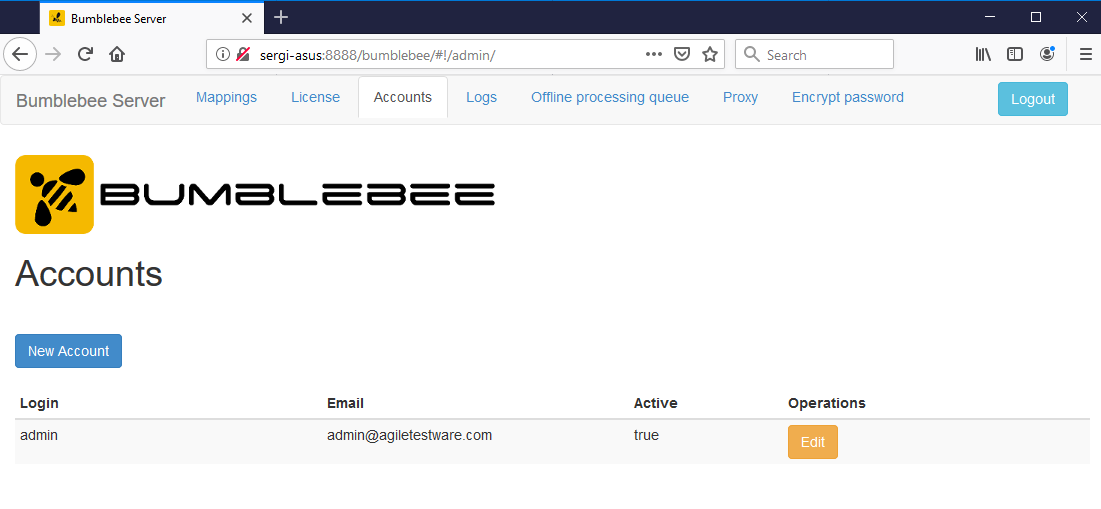
</mappings>Security
To manage users, navigate to Accounts tab and create additional account or change passwords

To setup secure connection to Bumblebee Server, use services like Lets Encrypt (opens in a new tab) or generate a self-signed certificate. Place the keystore file in the Bumblebee installation directory and create a application.yml with this configuration.
server:
  port: 8443
  ssl:
    key-store: keystoreFile.pfx
    key-store-password: your_key_store_password
    keyStoreType: PKCS12
Once configured, restart the Bumblebee service
- Windows: Restart
BumbleBee HP ALM Integration Service - Linux: Navigate to Bumblebee Server installation directory and run
sudo ./shutdown.shandsudo ./startup.sh
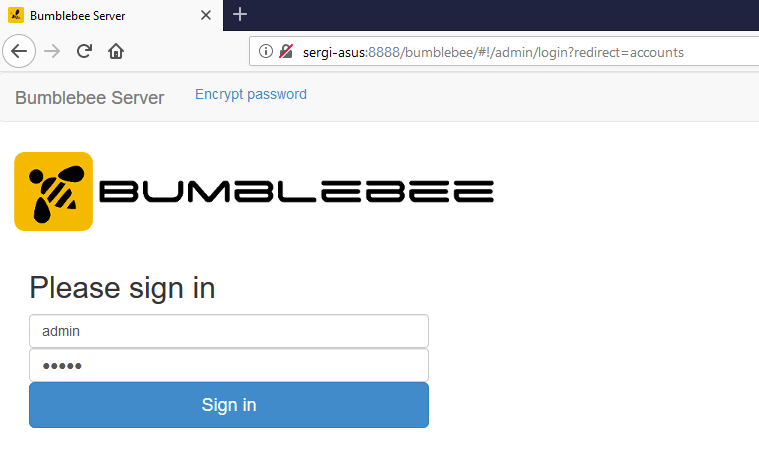
Web Portal
The default user name/password: admin/admin
After installation is complete, navigate to the Bumblebee portal to setup ALM custom fields, update license, view logs, etc.